
In this article, we cover how users can find overexposed data in their structured data store using Protecto. We will use Snowflake as our structured enterprise data store for the purpose of this discussion.
In case you have not seen other videos, check out this article to learn how to connect Protecto to your Snowflake data store.
Requesting access to Protecto to get started with finding sensitive PII data in your data store can be done in three easy steps.
Your Protecto instance will then be configured in a matter of several minutes or even a few hours depending on the size of your data. Once this process is completed, Protecto’s Privacy Intelligence platform:
Now that you have connected Protecto to your data store, let us explore how you can find overexposed data.
Overexposed data simply refers to the data assets most commonly used by users. So, these data assets are the ones that are the riskiest from a privacy risk perspective, and companies have to make sure that the users have the right justification to access them.
You can view overexposed data assets in your datastore from the Protecto platform.
To view,
1. Sign in to your Protecto account.
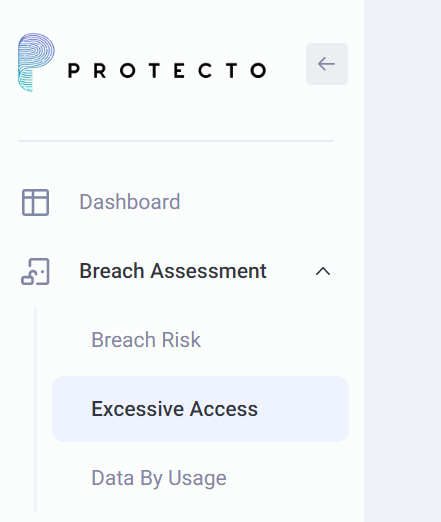
2. Once you are on the dashboard, on the left-hand panel, navigate to ‘Breach Assessment’ -> ‘Excessive Access’.
3. On the ‘Excessive Access’ page, you can view a quick snapshot of all the data assets and the number of users having access to these data assets. You can view details like:

4. You can sort the column ‘Users with access’ to view the who has excessive access to which data asset.
5. If you want to check the user access details of any particular data asset, you can click on it directly and you will be redirected to the ‘Data Catalog’ page.
6. On the ‘Data Catalog’ page you can view the data asset details such as path, type, owner, category and tags assigned to the data asset.

7. Under the ‘Access’ section, you can view all the users who have access to the data asset, what personal data there are able to access, and the date when the data asset was last accessed.

Here you can understand how much of your data is overexposed and which users are getting access to it. Companies can do due diligence here and monitor and purge the people who don’t need access to the data.
1. On the dashboard, go to the ‘Excessive Access Privileges’ section.

2. By hovering your mouse over the pie chart, you can check out the percentage of Good or Excess access. When an “Access” section is clicked, you will be redirected to the ‘Breach Risk’ page.
3. On the “Breach Risk” page, you can view a quick snapshot of all the data assets, along with details such as:

4. You can click on any of the columns to sort the data asset accordingly. For example, sort the data assets based on ‘Financial Impact’ and you can view the data asset with the highest financial impact.

In summary, finding overexposed data is a critical step in data privacy analysis so that you can take the right steps to ensure data privacy and protection. By identifying and addressing overexposed data, organizations can mitigate the risk of unauthorized access, accidental or willful data leaks, and potential legal and reputational consequences.
We take privacy seriously. While we promise not to sell your personal data, we may send product and company updates periodically. You can opt-out or make changes to our communication updates at any time.


